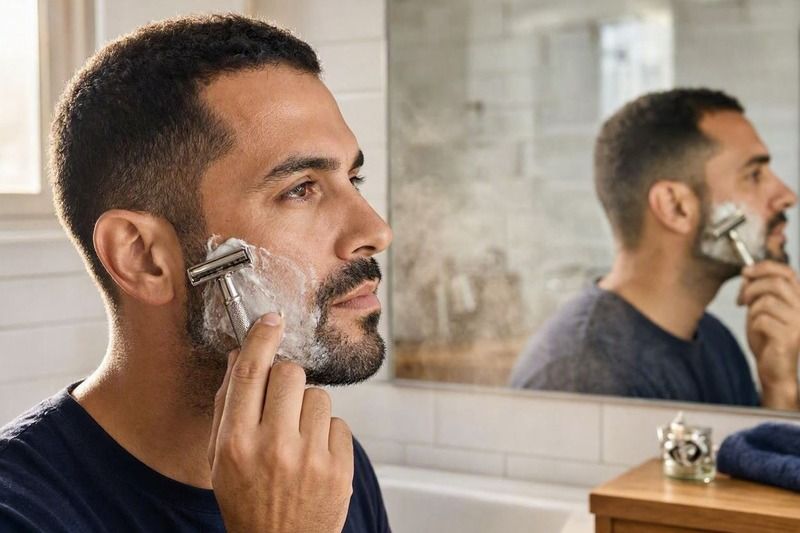
Learn how to shave your sideburns with a safety razor without uneven lines or irritation. This UK guide explains angle control, trimming technique, stroke direction and how to keep both sides perfectly symmetrical.
Sideburns are one of the easiest areas to shave — but also one of the easiest to get wrong. Uneven lengths, crooked lines, missed patches and irritation are all common when using a safety razor for the first time.
This guide explains how to shave your sideburns properly with a safety razor, keep both sides even, and avoid nicks or jagged edges.
Why Sideburns Are Tricky With a Safety Razor
Sideburns seem simple, but they have a few challenges:
- The hair grows downward but often curls
- The area is narrow, so mistakes show easily
- The razor can catch the ear or skip over the curve
- It’s easy to make one side shorter than the other
- Long strokes often miss patches
Once you understand these issues, shaving sideburns becomes quick and consistent.
Step 1 — Prep the Area Properly
Even though sideburns are small, proper prep still matters.
Warm water softens the hair and helps the blade glide. Apply shaving cream or soap and let it sit for 20–30 seconds. This prevents tugging and gives you a cleaner line.
If you want a full prep routine, see The Perfect Pre‑Shave Routine.
Step 2 — Comb or Brush the Sideburns Downwards
Before shaving, brush the sideburn hair straight down.
This:
- Shows the true length
- Reveals uneven areas
- Helps you set a clean baseline
- Prevents the razor from catching curled hairs
A simple beard brush works perfectly.
Step 3 — Set Your Sideburn Length
Most men choose one of three lengths:
- Mid‑ear
- Top of the ear
- Bottom of the ear
The key is symmetry.
Stand straight, look forward, and choose the point where both sideburns will end. Use your finger to mark the spot on each side.
Step 4 — Use a Shallow Angle
Sideburns are narrow, so angle control is crucial.
Place the razor cap against the skin, then lower the handle until the blade just begins to cut. This shallow angle prevents scraping and gives you a clean, straight line.
If you need help with angle control, see How to Shave With a Safety Razor.
Step 5 — Use Short, Downward Strokes
Long strokes skip over the narrow sideburn area.
Use short, controlled strokes:
- 5–10 mm
- Straight down
- Light pressure
- Frequent rinsing
This gives you accuracy and prevents jagged edges.
Step 6 — Create the Baseline (Bottom Edge)
This is the part most beginners struggle with.
To create a clean bottom edge:
- Stretch the skin slightly by pulling the cheek upward
- Hold the razor at a shallow angle
- Make a short, precise downward stroke
- Stop immediately — don’t over‑shave the line
Repeat on the other side, matching the length.
If you shave too high, the sideburn looks uneven or too short.
Step 7 — Tidy the Sides
Once the baseline is set, tidy the vertical edges.
Use downward strokes only — upward strokes can lift the hair and cause unevenness.
Keep pressure light and follow the natural shape of the sideburn.
Step 8 — Check Symmetry Properly
Most people check symmetry incorrectly by tilting their head.
Instead:
- Stand straight
- Look directly forward
- Relax your face
- Compare the bottom edges
- Compare the thickness
- Compare the taper
If one side is slightly longer, adjust with a single short stroke.
Step 9 — Rinse and Apply Balm
Sideburns don’t usually get irritated, but a quick rinse with cold water helps close the pores. Apply a small amount of alcohol‑free balm to prevent redness.
If irritation appears, see Safety Razor Troubleshooting.
Common Sideburn Mistakes (and How to Avoid Them)
Shaving too high
Fix: Set your baseline before shaving.
Uneven sides
Fix: Check symmetry while standing straight.
Jagged edges
Fix: Use short strokes and a shallow angle.
Missed patches
Fix: Brush the hair downward before shaving.
Tugging
Fix: Use a sharper blade — see Best Safety Razor Blades for Sensitive Skin.